Breakdown #Enfrosted
VFX Components I Will Cover
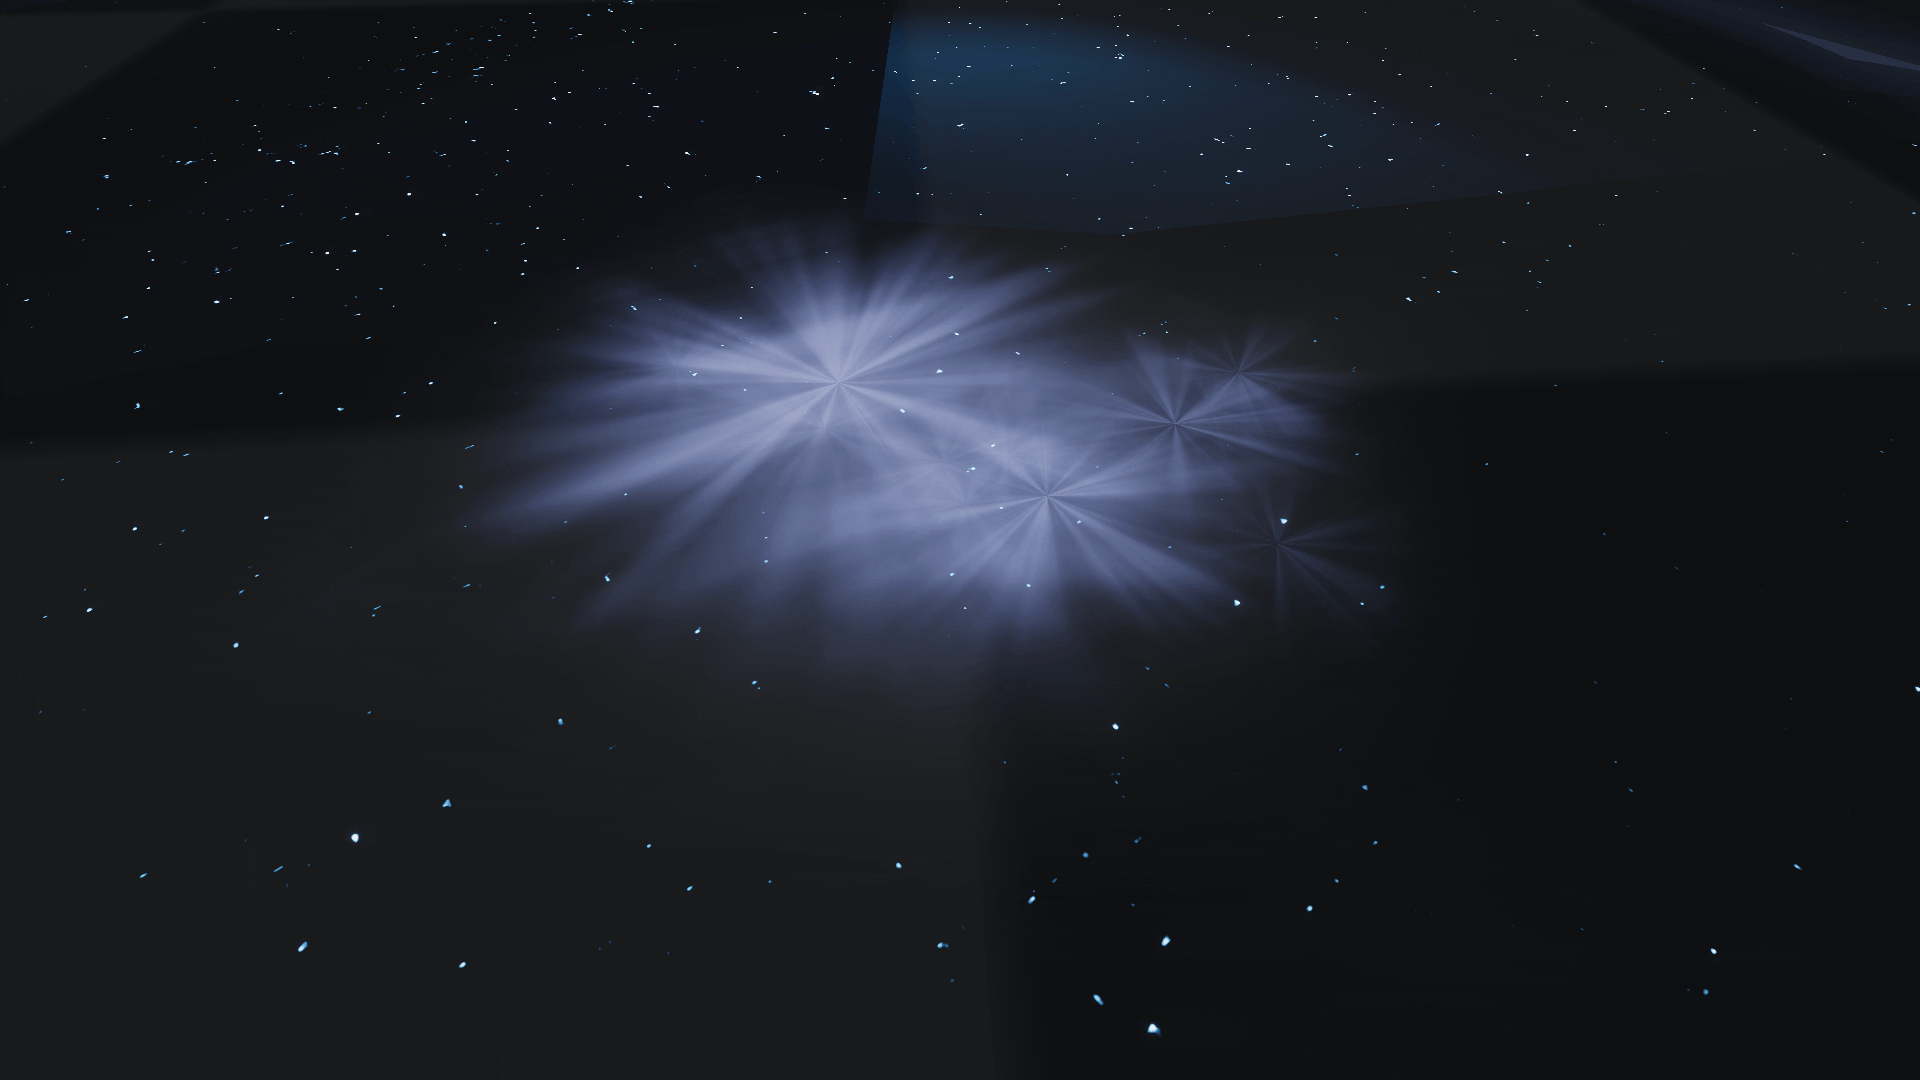
Ice Floor
Wind Sphere
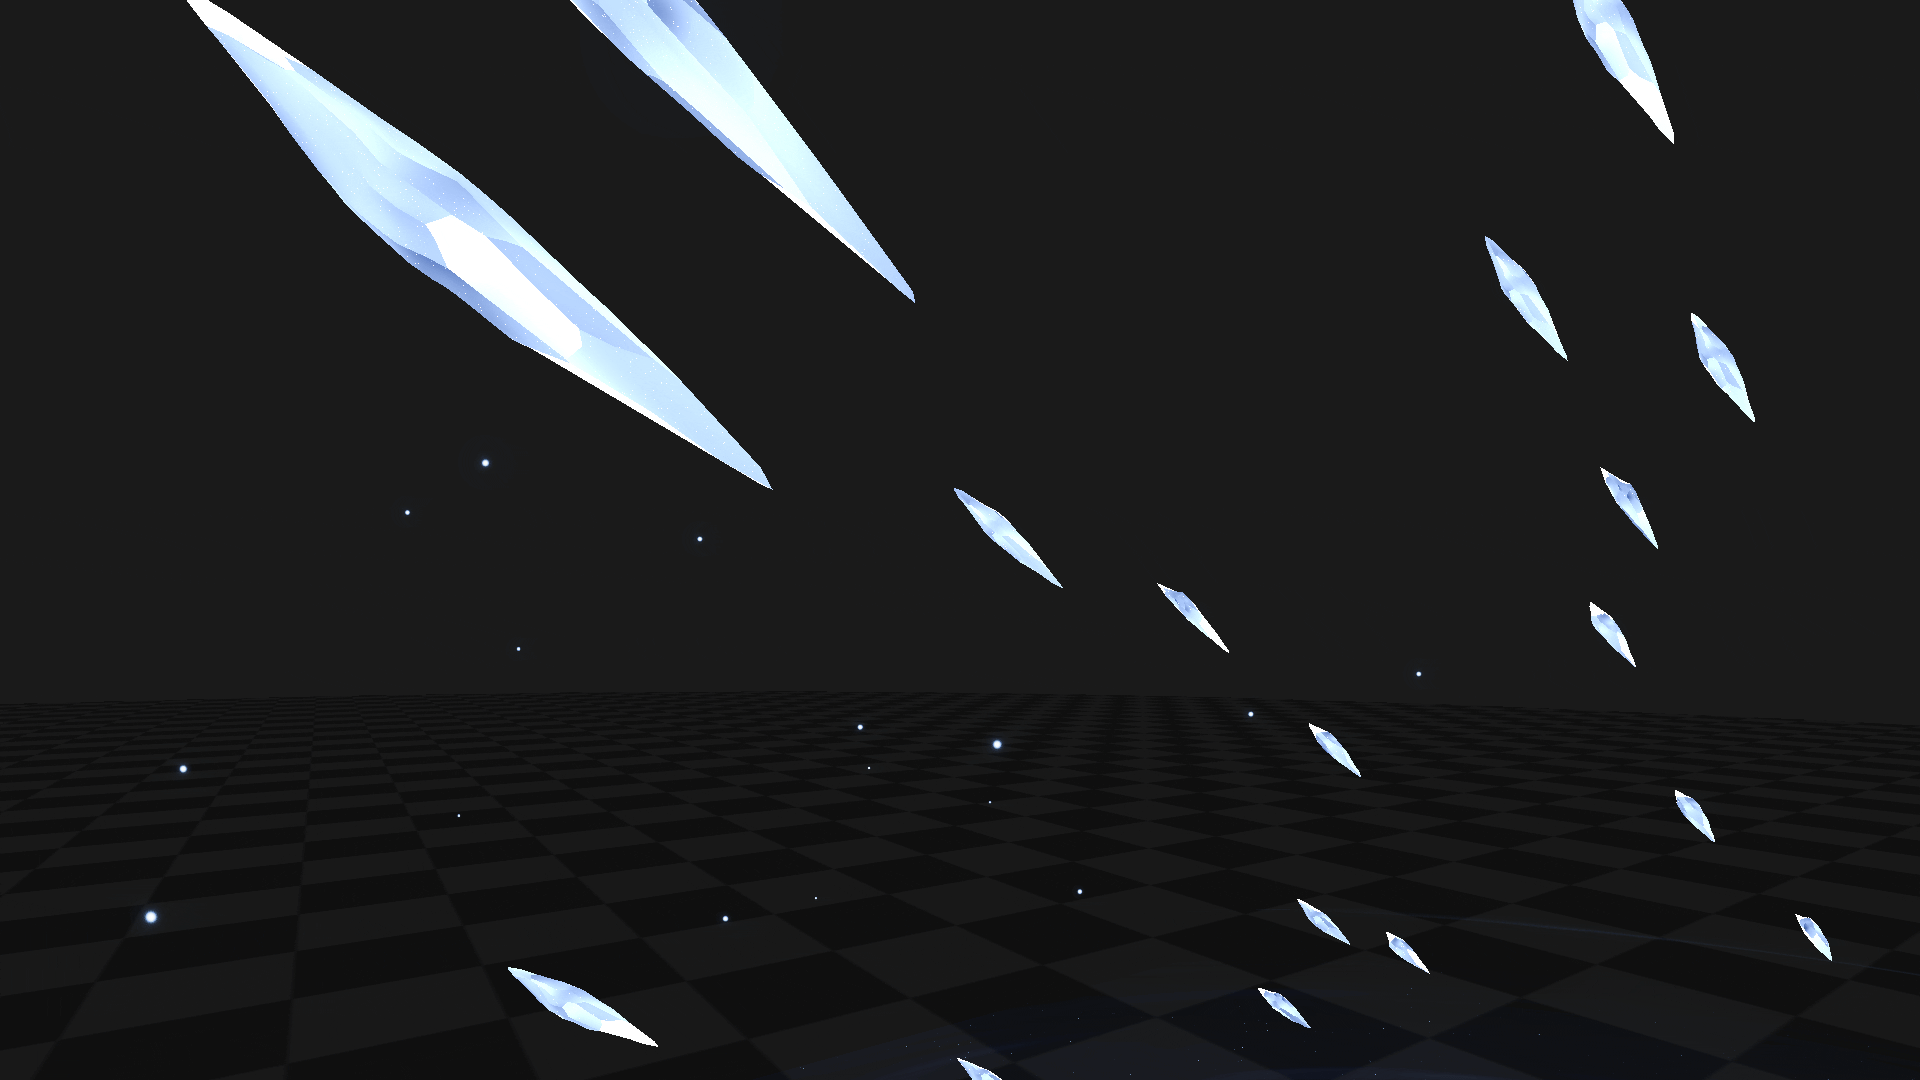
Ice Shards

Ice Floor
Shader
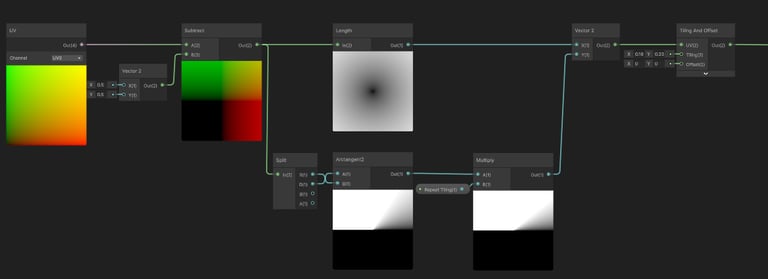
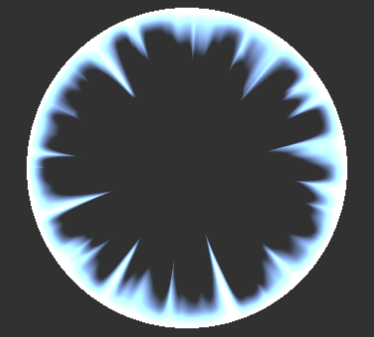
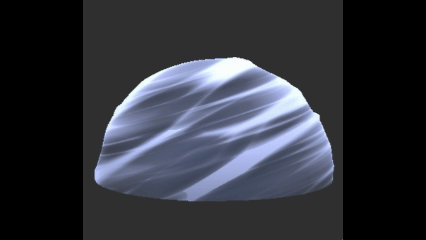
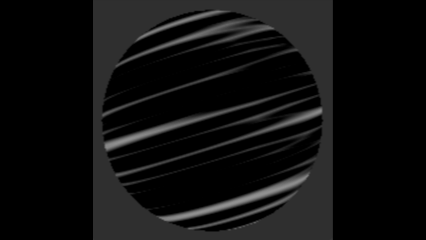
For this shader, my goal was to replicate the way ice naturally forms from multiple origin points and gradually extends outward. To achieve this effect, I required a circular texture that originates at its center and expands seamlessly toward the tile’s edges, allowing for a controlled and believable growth pattern.

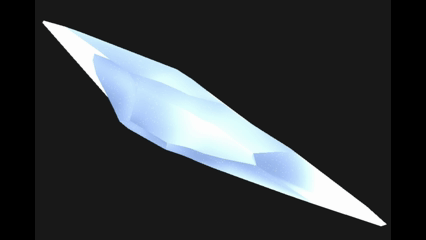
Final Preview
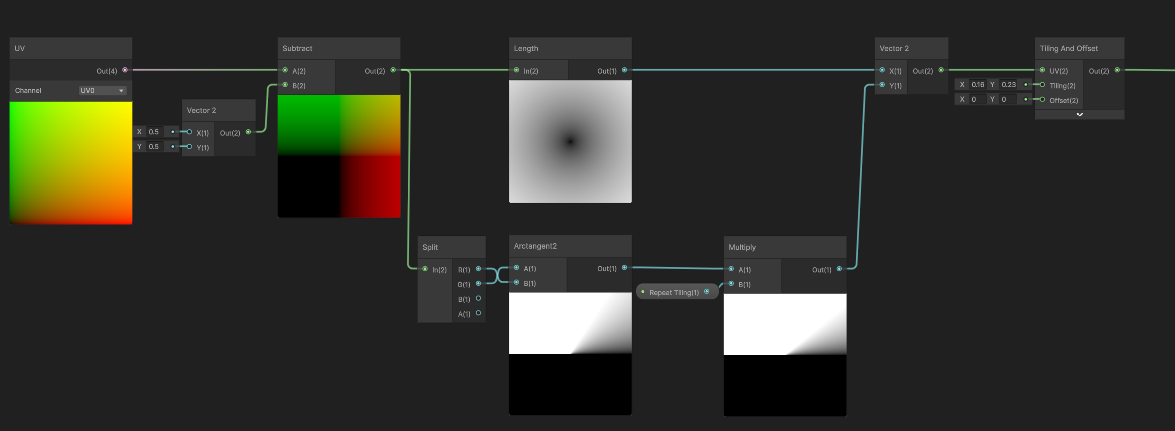
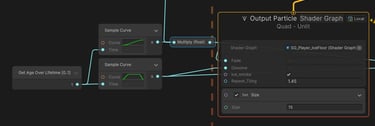
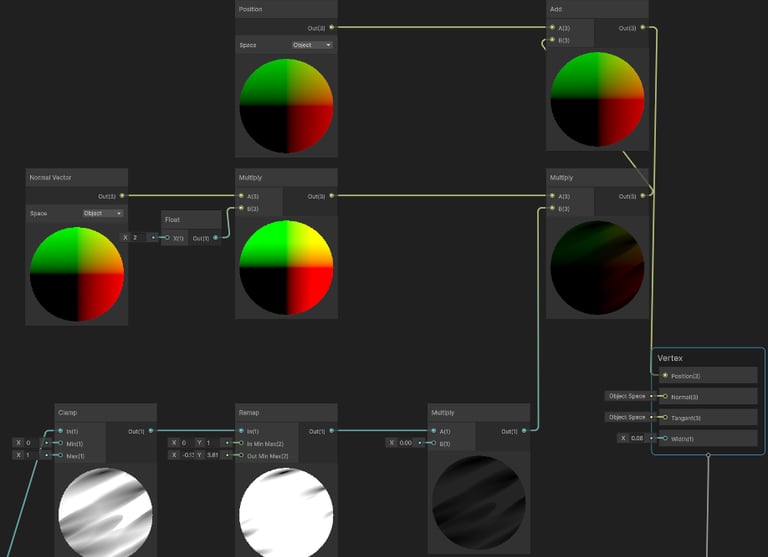
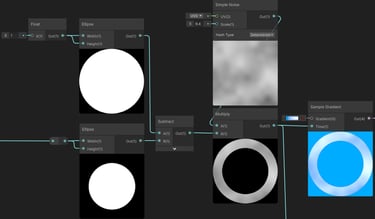
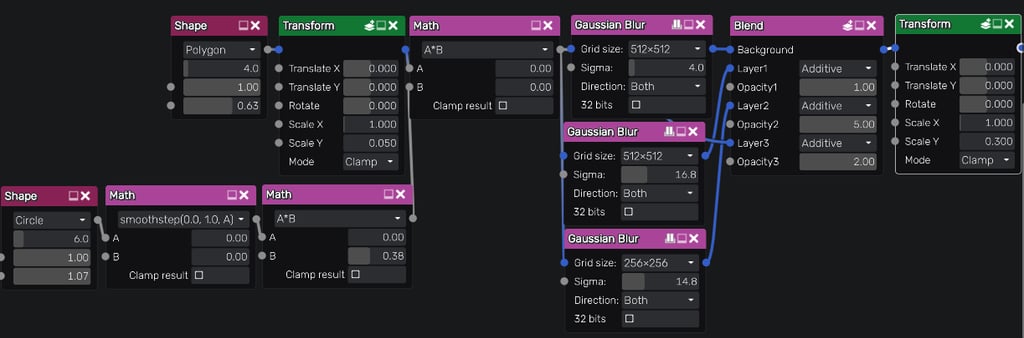
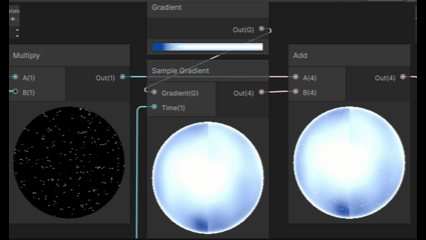
I began with a standard node setup designed to circularize the texture’s UVs, establishing a radial coordinate space that could drive the effect’s outward expansion.
For the texture itself, I used a Simple Noise node as a base and refined it by adjusting its parameters and layering additional nodes such as Smoothstep, Add, and Multiply to shape and control the final result.
Tweaks & Layering
Circularizing Node Setup
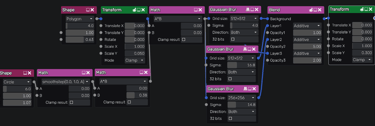
Other textures in the effect, used by the same method


VFX
Logic / Behavior
My goal was to replicate the behavior of a circular area expanding outward from a central origin.
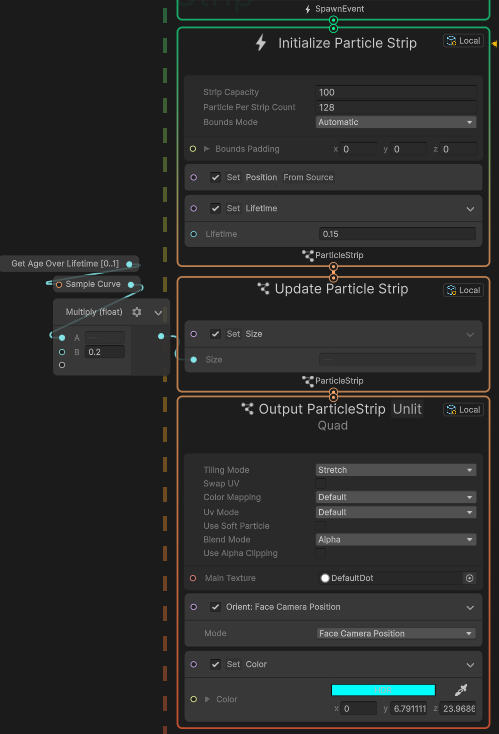
To achieve this, I set the particles to spawn continuously along a circle as their spawn shape.
The circle’s radius will be driven by VFX time multiplied by a fixed max radius, allowing the spawn area to progressively expand over the lifetime of the effect, not the particle.

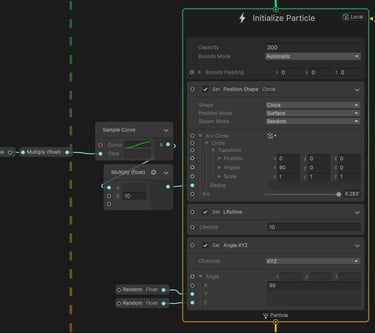
Spawn Logic
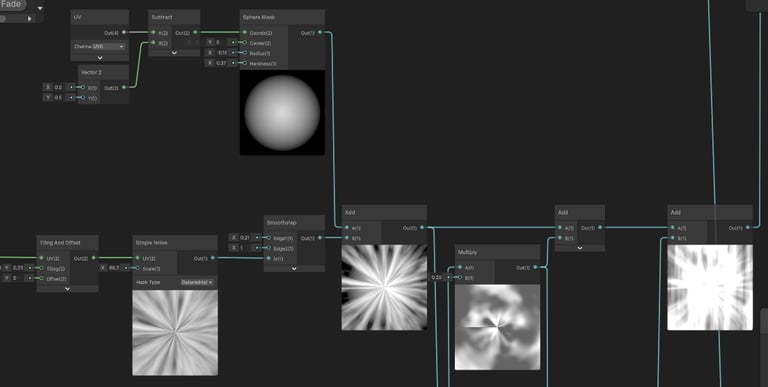
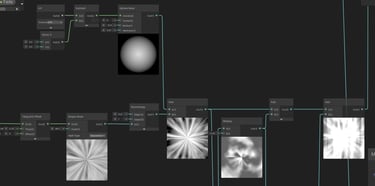
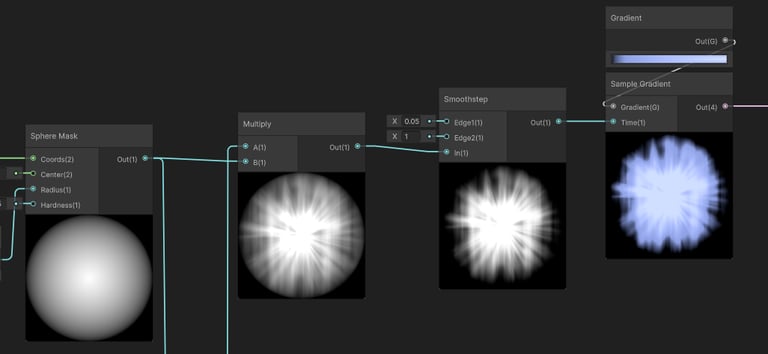
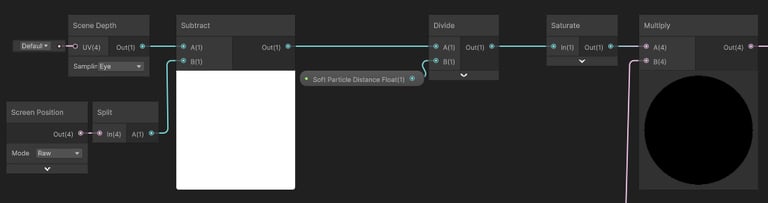
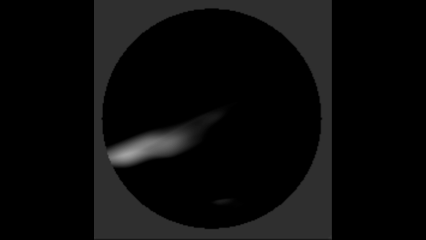
For the ice expansion, I used a standard reverse dissolve setup combined with a sphere mask, allowing the center of the texture to hold the highest value so the dissolve extends inwards from the frame borders.
Render Logic
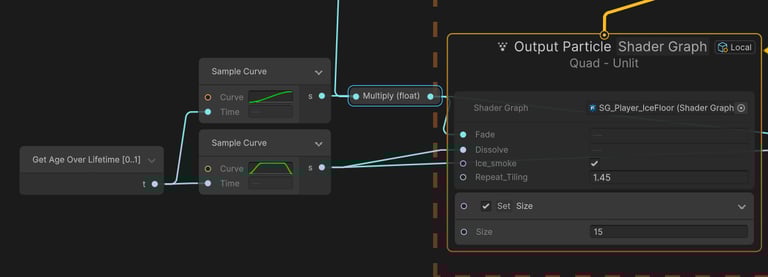
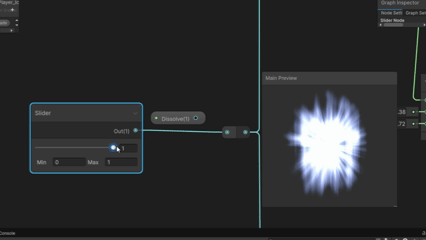
Shader Dissolve
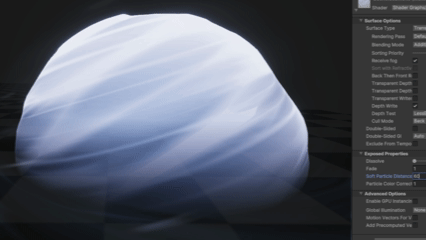
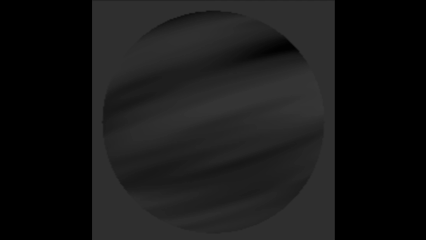
Wind Sphere
Shader
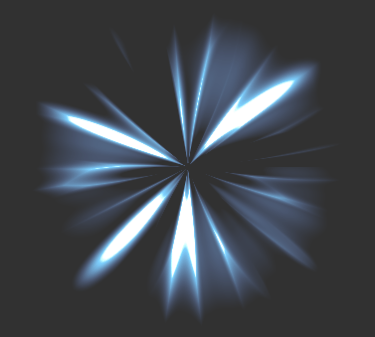
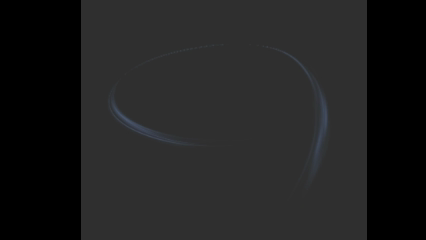
For this shader, I had a clear visual target for how I wanted the wind to behave from observing and analyzing wind effects across a range of games.
From that research, I identified three core principles to guide the design: building the shader with multiple layered elements to enrich detail, ensuring the flow of motion remains readable and visually clear, and introducing controlled chaos to add variation and secondary detail.
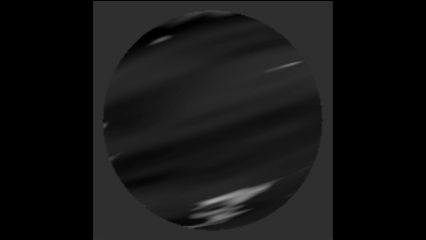
Wind Sphere
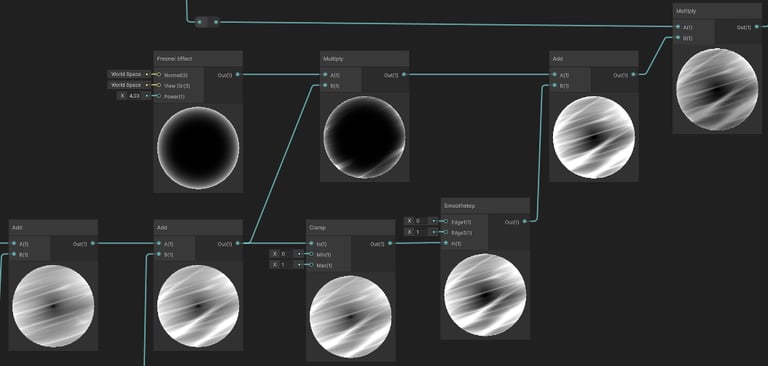
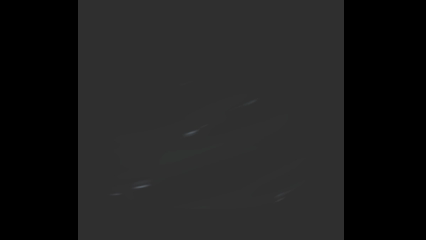
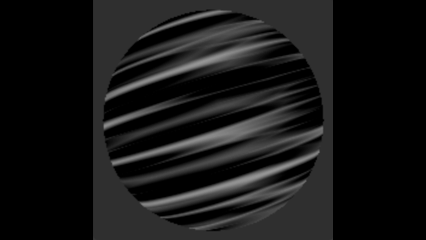
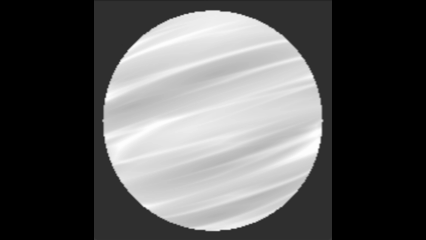
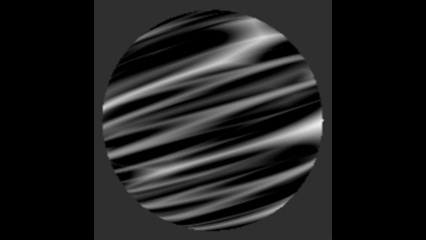
As the foundation for the shader’s texture, I used a Voronoi Noise node and refined its appearance by adjusting its parameters and combining it with supporting nodes such as Smoothstep, Add, and Multiply.
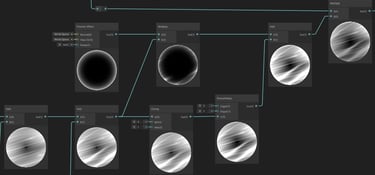
I repeated this process across four separate layers, multiplying each one with a float value between 0 and 1, and finally combined them using Add to build a richer, more complex texture.
Displacement setup

Adding Layers
I added displacement to the sphere using a standard normal vector displacement setup, multiplied by the most prominent texture layer out of the four to emphasize the primary forms and motion.
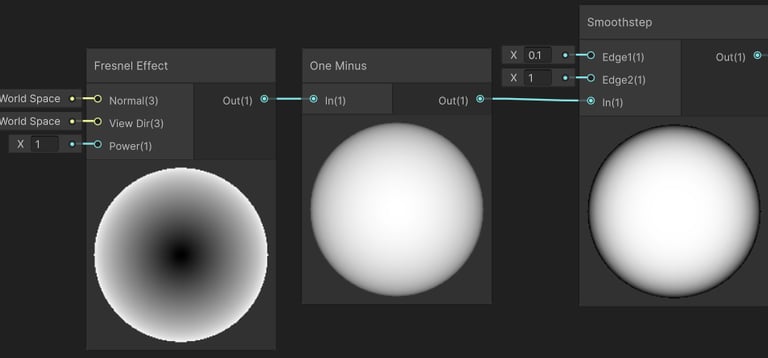
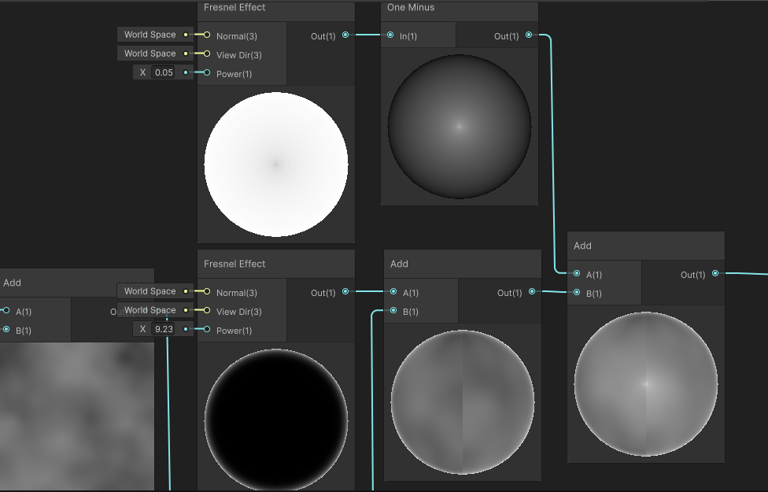
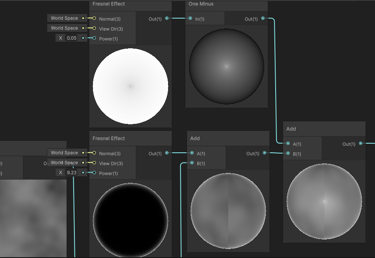
Later on, I added both an inner and an outer Fresnel to enhance edge definition and improve the overall depth.
Inner Fresnel & Outer Fresnel
For colors I sampled the texture through a Gradient Sampler and iterated on various color palettes and gradient combinations before settling on one that best aligned with my interests.
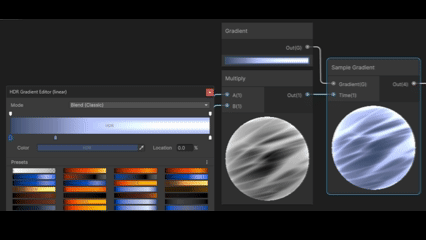
Gradient
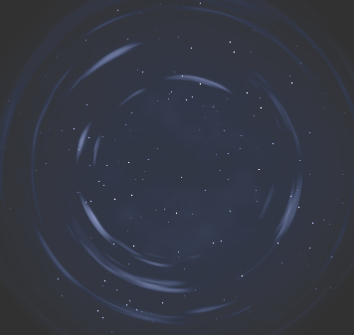
Secondary Sphere
Wind Meshes
Lastly, I added a soft particles setup in the shader to help the effect blend more naturally with the scene and give it a lighter, more airy feel.

Soft Particle Node Setup
Soft Particle demonstration
1
2
3
4
For the secondary sphere I repeated the process for the texture. Used Voronoi Noise & Simple Noise nods, tweaked their parameters and used smooth step, multiplied with inner Fresnel.
Layered Procedural Texture
Fresnel
X
To make the wind meshes I used the curve tool in maya, creating 3D curves that looked interesting to me, next step was to used the function Sweep Mesh and play with its parameters.
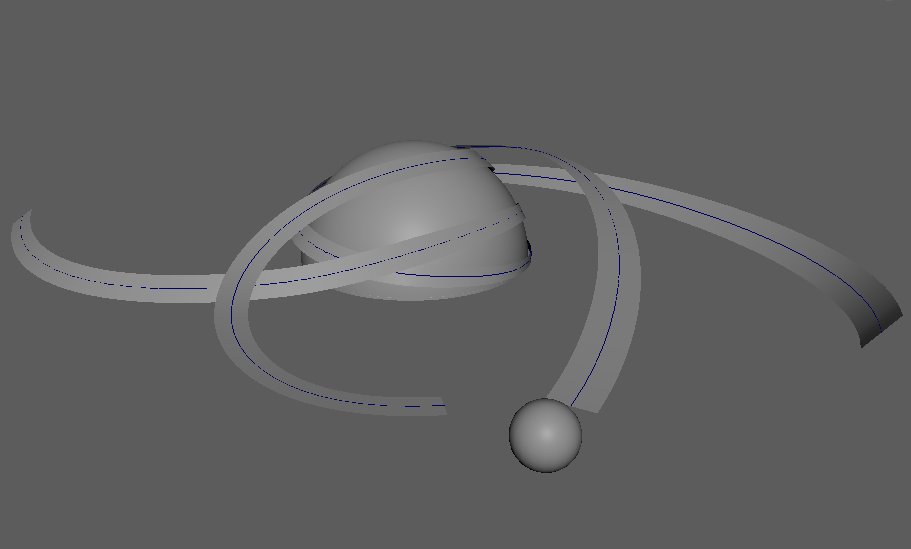
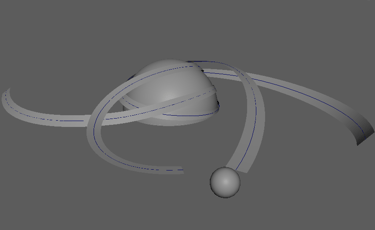
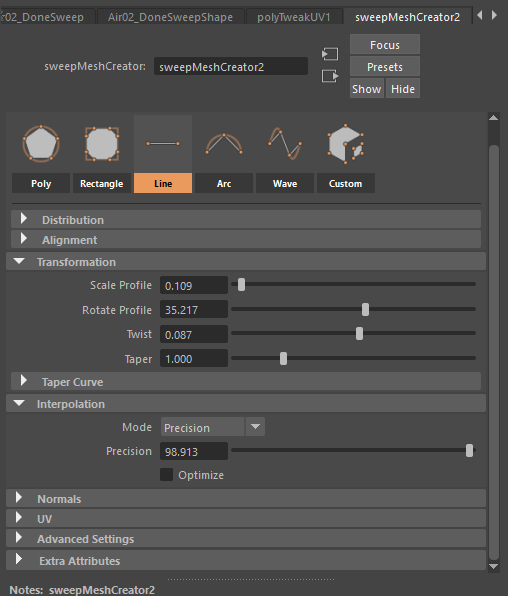
Maya Scene
Sweep Mesh
For the shader, it was important to ensure the texture appears progressively from the start to the end of the mesh, matching the direction and flow of the forming air.
Using the meshes UV’s on the Y axis, this gives a gradient useable as a dissolve map with step / smoothstep.
Forming demonstration
=
+
+
VFX
Logic / Behavior
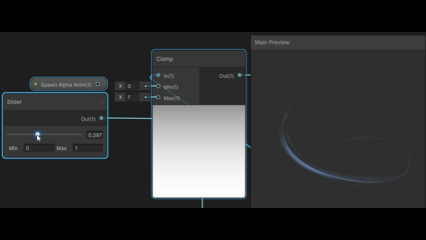
For the main & secondary spheres the behavior is a standard reverse dissolve as a spawn-in animation to standard dissolve as a fade away animation, combined with timed spawn delay.
I also oriented the spheres to face the camera to ensure the player always gets the best possible view, while locking the Y axis so it remains parallel to the ground.


Spawn Logic spheres
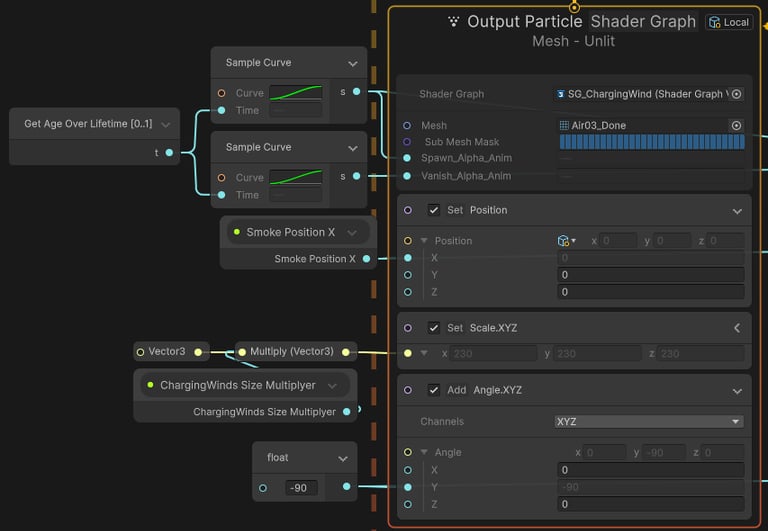
For the Wind Meshes, I used lifetime-based curves to drive the shader’s appearance and dissolution over time.
I also set the smoke sphere’s position as the origin to properly align with the Maya scene, added a size multiplier for quick iteration, and included a rotation offset to better suit the final look.
Spawn Logic Wind Meshes
Ice Shards
Shader
For this effect component I wanted to keep the flashy anime-like aesthetics, to achieve this I created 3 different particles spawn each with their own shader.
Ice Shard
First I created a specific UV layout separating each face and spreading them out around the UV space, doing so made the texture look broken and sharp on each face of the mesh to help mimic the behavior of a crystal shard.
Eclipse substraction

Ice Shard UVs
Then I used another Simple Noise node, using a very dense noise parameters and a Smoothstep node to eliminate any greys, achieving a look of spread out tiny dots to serve as shiny glitter.
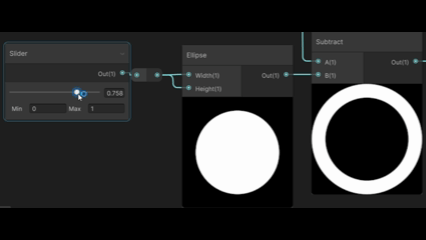
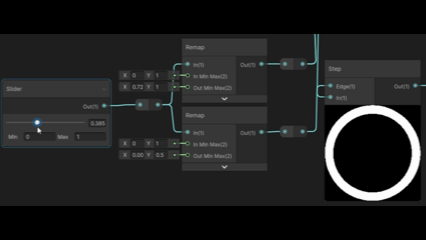
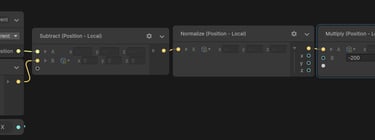
For the spawn circle, I created a ring mask by using two Ellipse nodes one slightly larger than the other and subtracting them to form a ring from their difference.
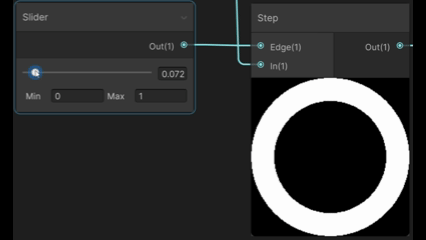
Step Dissolve


Spawn Circle

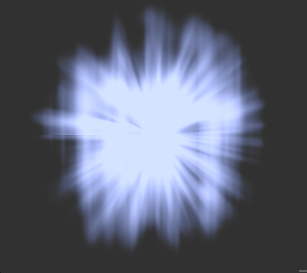
Spawn Flare
Glitter Effect
Subtraction Dissolve
In addition, I exposed a parameter to control the scale of the smaller ellipse, allowing it to expand over time. By driving this value, the subtraction thins the ring. Creating a dissolve from both subtraction & standard Step dissolve.
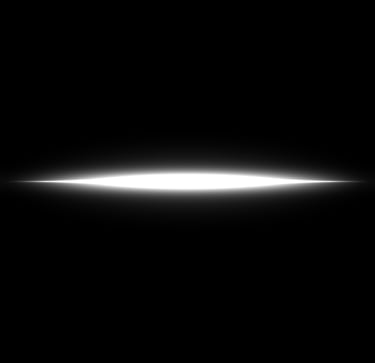
I used this node setup in Material Maker to create the Flare texture. Making a thin square, multiplied by a soft sphere and combining it with 3 layers of different blurrs.

When it comes to textures I used a Simple Noise node, one that is soft and cloudy to create nice gradients across the mesh, added with both inner and outer Fresnel.
Soft Gradients
Then I combined them and added some color using the gradient sampler.
Sample Gradient
+
To animate both dissolves at once I used two different remap nodes both being driven by the same parameter, but each has different values set as new 0's and 1's.

Preview
Node Setup
VFX
Logic / Behavior
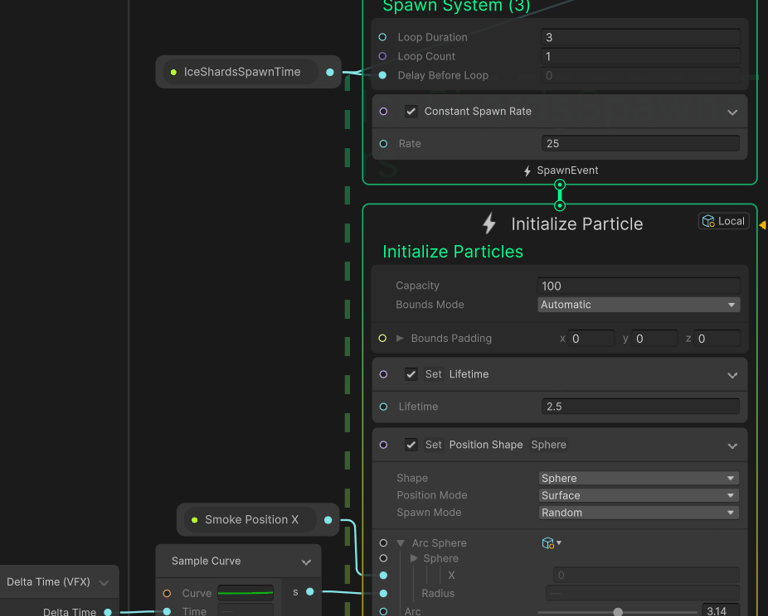
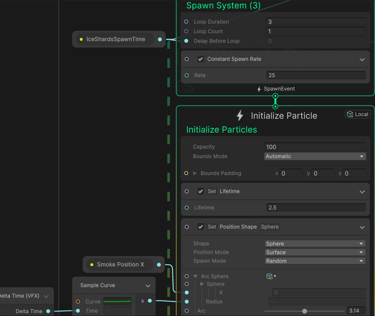
I used two particle systems to spawn the Ice Shards. The first emits at a high constant rate over a one-second loop, behaving like a smoother burst. These shards have a longer lifetime and spread across a half-sphere, making them the main visual focus.
Ice Shards Spawn System
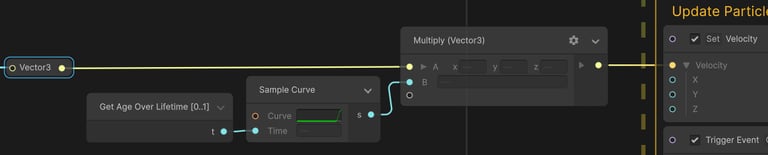
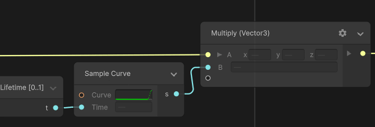
To make the shards move to a designated spot just like the Look At block, I used a method to manually calculate the needed direction. A node setup that calculates the particles position, a chosen X Y Z position, the difference between them and normalizing it. Lastly multiplying by how fast we want the particle to move & if it moves inwards (-x) or outwards (+x).
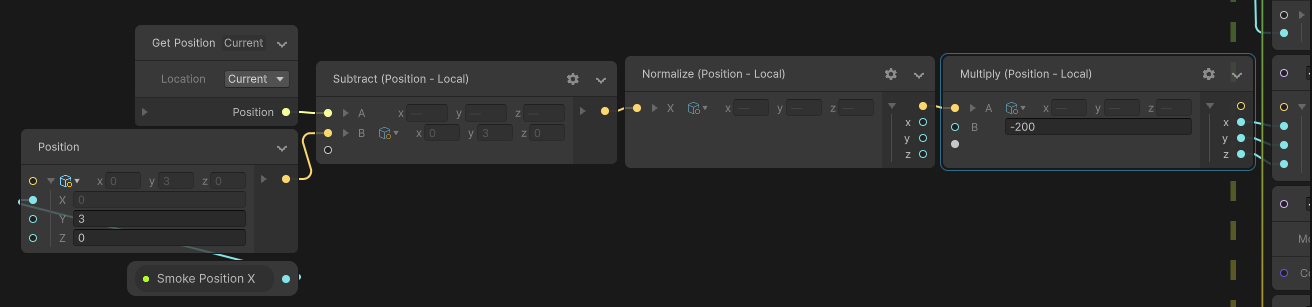
Velocity To Location Setup

Lastly, within the Update context, I generated a GPU event creating ribbon particles to make a trail behind the shards.
Shards Trail
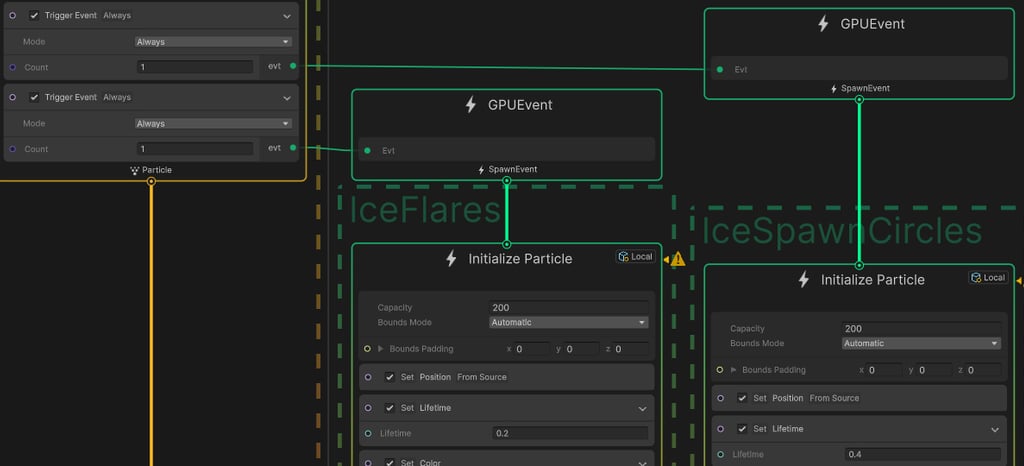
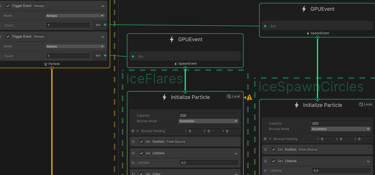
The second system spawns shards randomly across the same sphere at an even higher rate but with a much shorter lifetime, as they quickly travel toward the target. It also triggers two GPU Events to spawn the Spawn Circle and Spawn Flare effects, inheriting the shards’ positions.
All particles are oriented toward a designated point in 3D space by using the blocks - Look At Position / Orient: Along Velocity.
GPU Events
I wanted the eye catching Shards at the beginning to have a delay before moving into target, so I multiplied the output by a curve of 0 to 1.
Velocity x Controlled timing
This method can be used in Update, Initialize & Render phases. Depending on your needs.
END OF BREAKDOWN
© 2025. All rights reserved.
Have questions or want to chat about my VFX work? Reach out anytime!
Contact
nadavargaman0@gmail.com