Breakdown #Flame Shrine
VFX Components I Will Cover
Water Domain
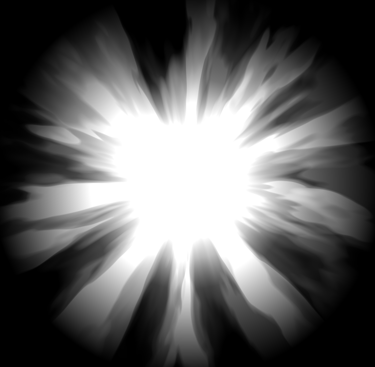
Explosion
Paper Talisman
Talisman
Shader
Final Preview
I wanted the overall effect to carry a Japanese ritualistic atmosphere. Drawing inspiration from depictions of supernatural and exorcism rituals, I incorporated paper talismans marked with writings.
In addition to that i wanted to include the flame aspect of the effect into as many elements as possible so i created a burning shader for the talisman.
Talisman Texture


Preview
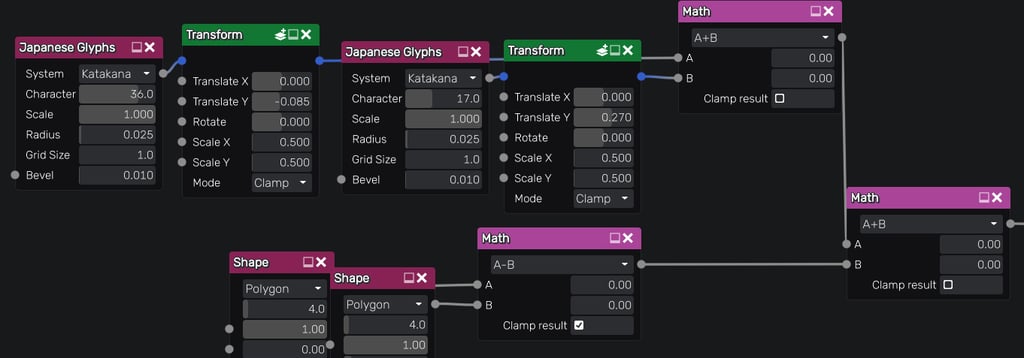
The talisman’s primary texture was created in Material Maker. I began by generating a square border through the subtraction of two square shapes, then layered it over a soft noise texture to establish the background. Finally, I overlaid Japanese characters on top to complete the design.
Talisman Burn Alpha
A soft Simple Noise node is great for situations like this, when you add it to an existing texture and clamp it to 1 it gives us a nice secondary noise to an existing baseline, which is the inverted Y gradient in this case.
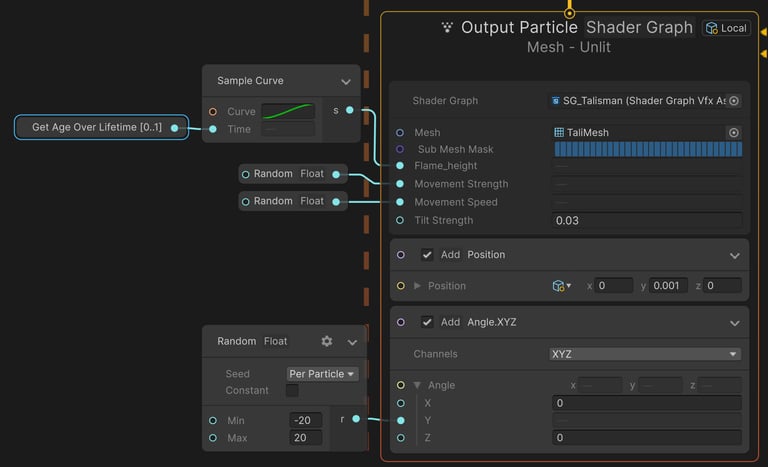
I wanted the talismans to convey strong motion, as if being lifted and flapped by the surrounding flames winds. To achieve this, I instantly thought about sine waves, perfect for seamless back and forth motion. So I applied them to the talisman’s Z axis position, giving them a natural, rhythmic movement.
Sin Visual Setup
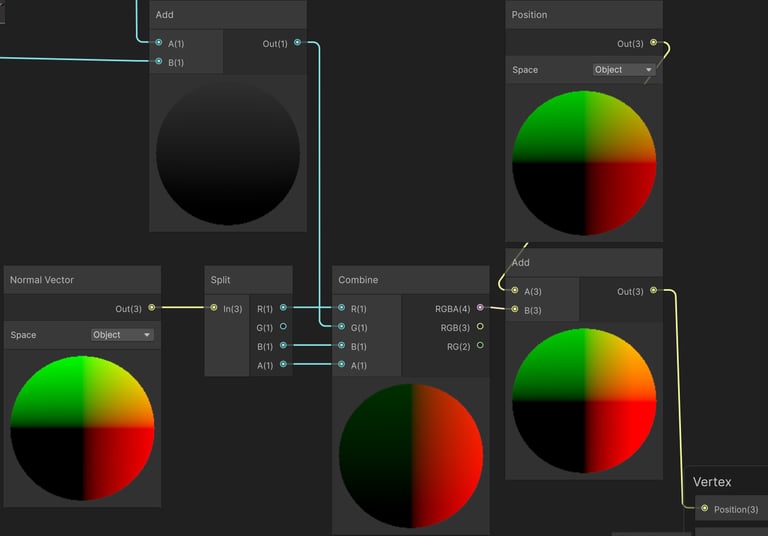

I started by creating a Y axis gradient to give the talisman an initial upward tilt, then layered a repeating sine wave on top to add a wave like motion.
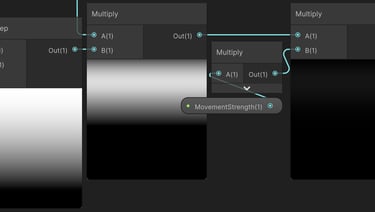
Multiplied the sine motion by a Y axis gradient so that the bottom of the talisman remains unaffected, ensuring it stays anchored to the ground. Also set a strength parameter.
Tilt + Sine
Tilt Demonstration

Outcome
=
=


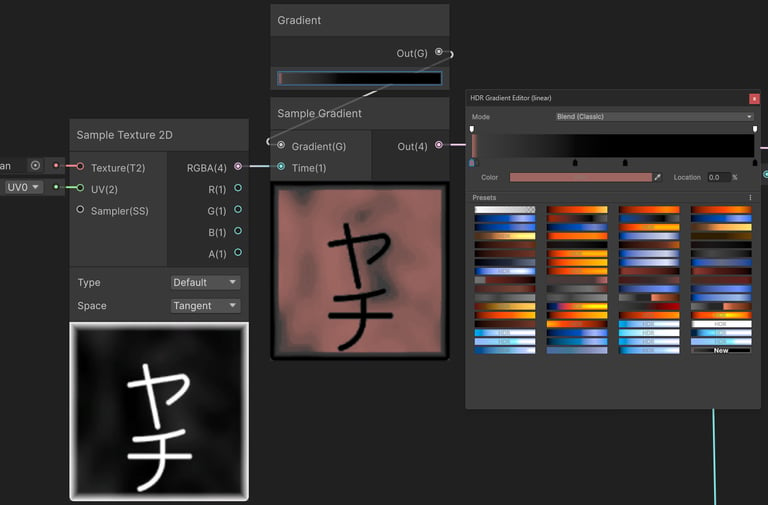
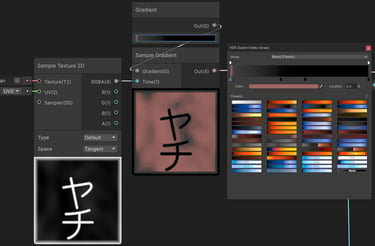
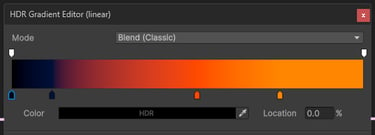
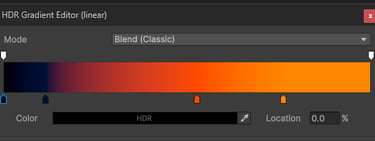
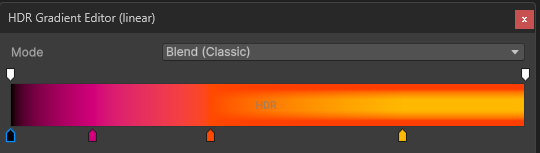
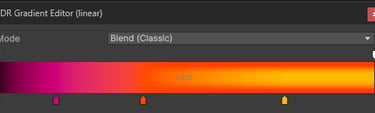
Combined the textures, and fed them into a Sample Gradient in engine.
Talisman Colors
Gradient For Tilt
Preview

Talisman Fire Highlight
Preview
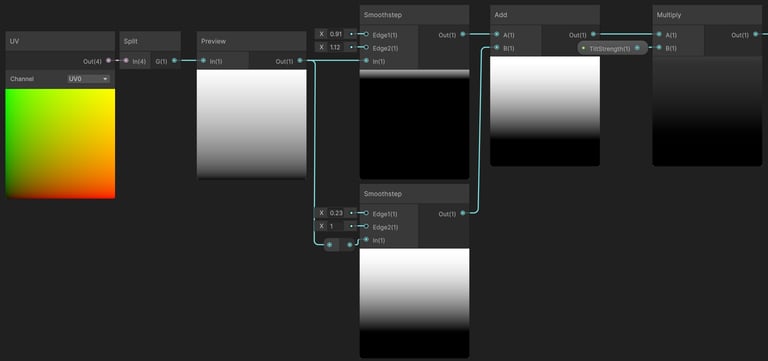
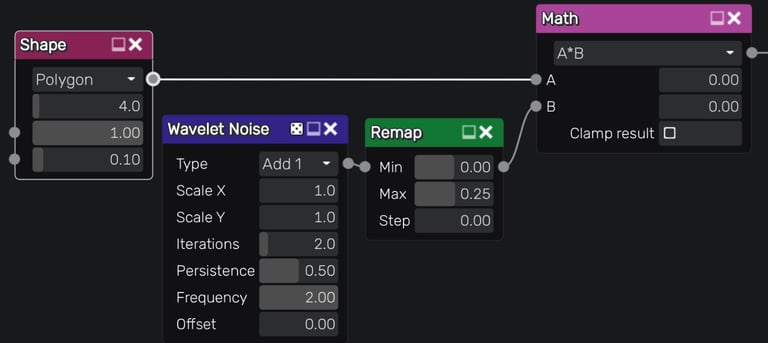
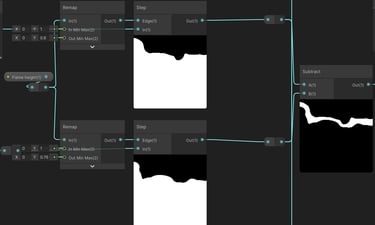
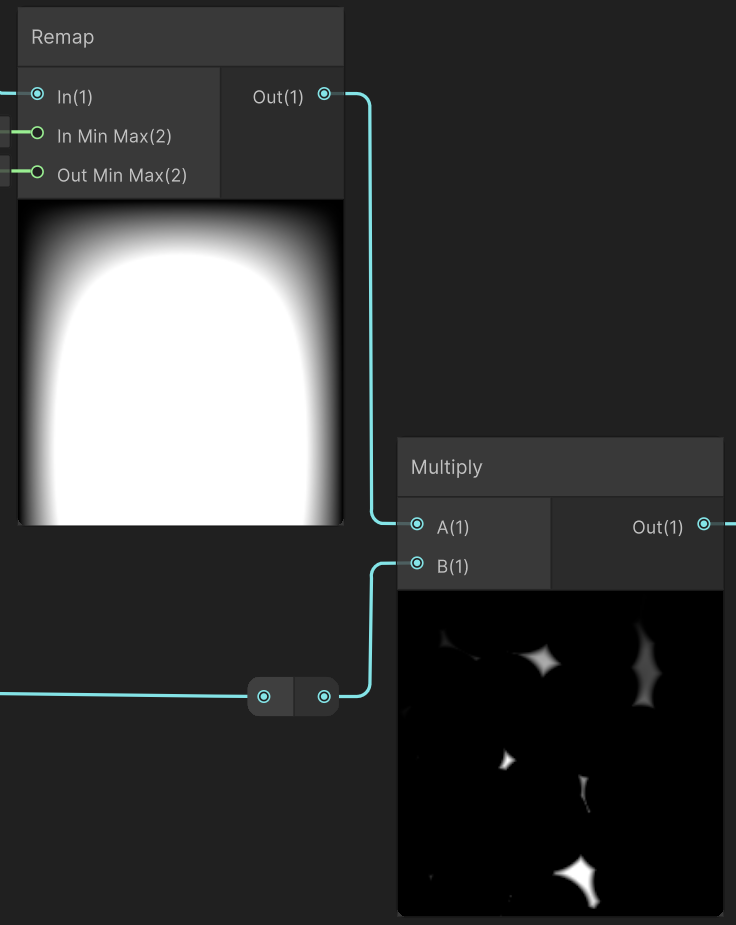
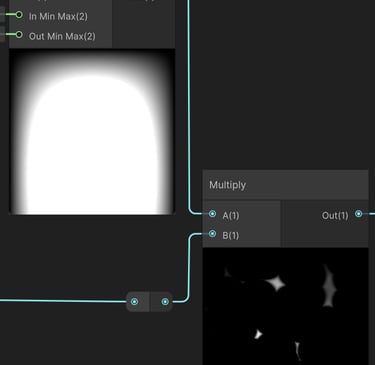
To create a fire highlight, I duplicated the Step node and offset its input value, effectively pushing one mask slightly “ahead” of the other. This offset creates a defined highlight band, where increasing the offset results in a thicker line.
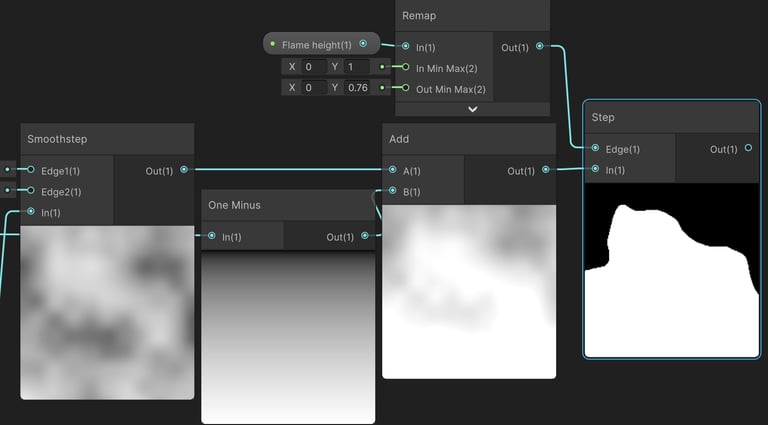
To achieve a convincing burning paper look, I needed a dynamic alpha that mimics the movement of a flame, while also allowing precise control over its height to drive the VFX dissolve.
Feeding the texture into a Step node gives both the sharp cut off and the control I needed by playing with the Edge(1) parameter, later animating it with a curve in the VFX graph.
For the sine wave I first needed a repeating scrolling texture to dictate where the sine distortion will take an effect, so I generated one.


Repeating Logic
▲
▲
Time speed
Reset every 1.9 seconds
Offset 0.9 units to opposite direction
▲
Flip Direction
▲
Preview

=
Implementing Logic with texture
I repeated the setup with varied parameters for the Multiply and Add nodes to introduce additional variation and create a more visually engaging texture.
Having the sine distortion effect only the scrolling area by multiplying with the texture.
Lastly I fed this result back into the object’s Z position to drive the motion along the forward axis.
Preview looking odd due to negative values.

I replaced the Y position in this case, due to the mesh being rotated inside maya being parallel to the ground instead of perpendicular, so Y is the meshes depth.
VFX
Logic / Behavior
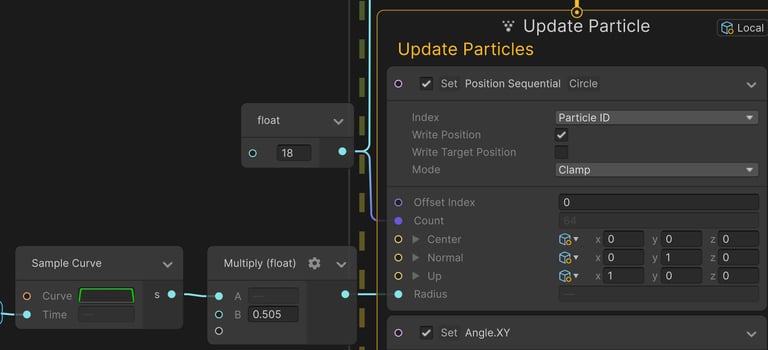
I spawned the talismans along a circular shape using a Position Sequential block, which allowed me to distribute all instances simultaneously without randomization. This ensured they were evenly spaced around the circle.
Spawn Logic
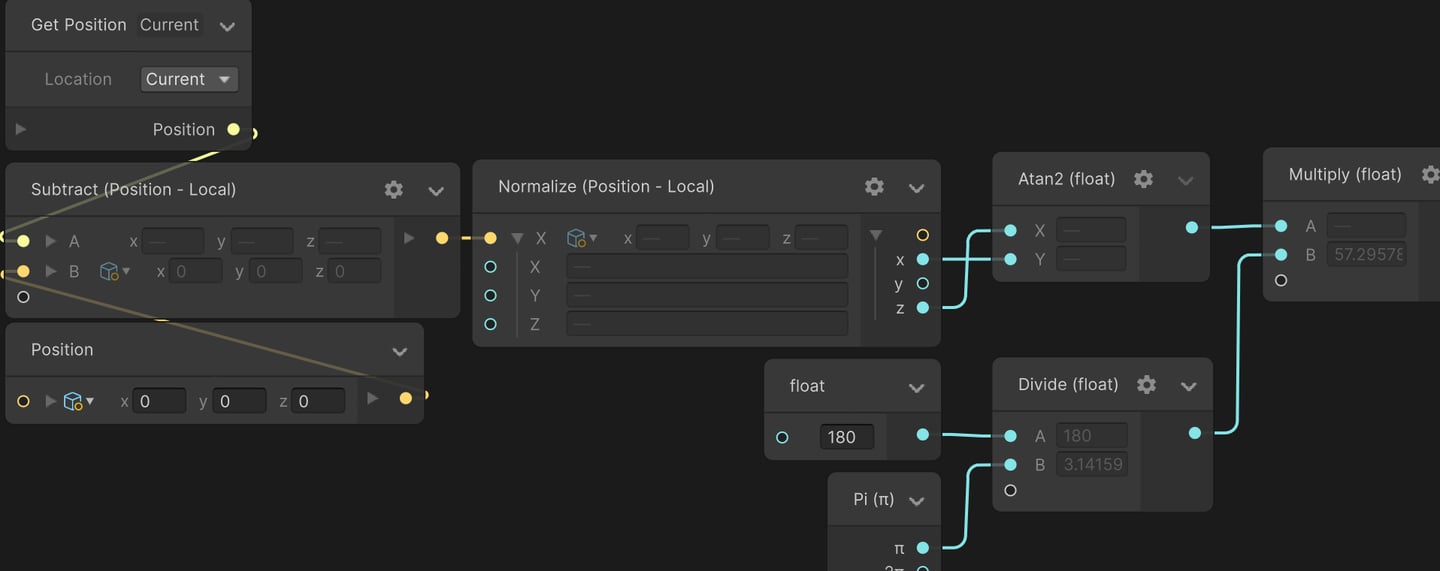
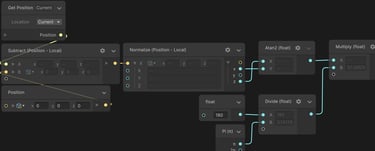
Later, I wanted all the talismans to face a specific point, in this case its the center of the effect. To achieve this, I implemented a 2D rotation setup to manually calculate the angle each particle needed to rotate, ensuring they consistently oriented toward the target.
Rotation setup
Render Logic
This method can be used in Update, Initialize & Render phases. Depending on your needs.
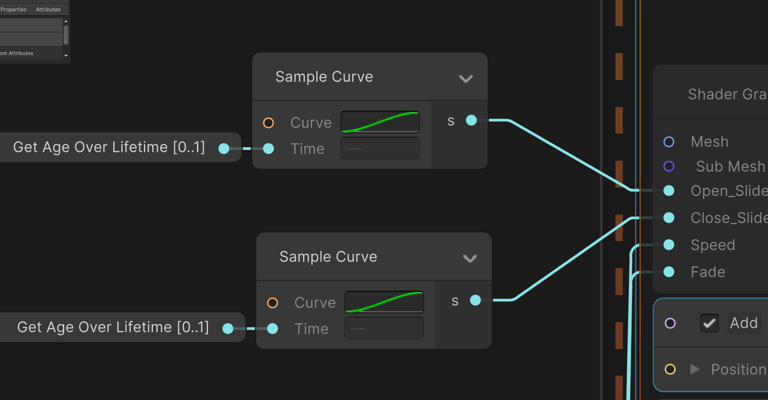
Animate appearance and disappearance
Connected to Spawn Burst value as well
▲
▼
Animate disappearance
Slight random values for distortion variation
Slight random values for rotation variation
▲
▼
▲
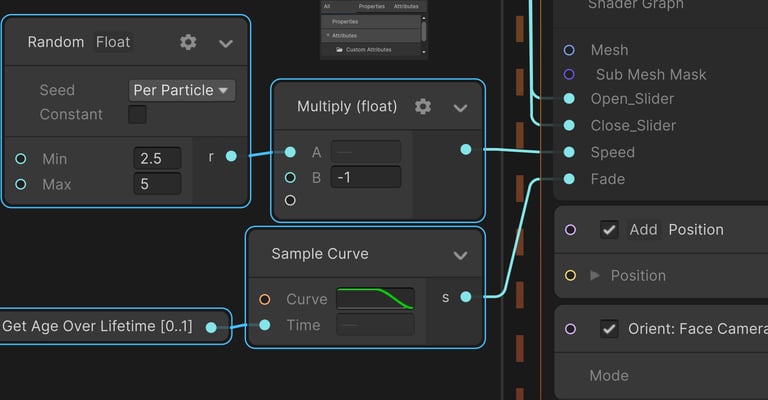
I Used a curve to drive the disappearance dissolvement, as well as added a few slight randoms for a more natural look.
Explosion
Shader
Circle
Flares
Ground Burn
From analyzing ground explosion abilities, I identified three key priorities for the effect: ensuring a clear and readable hit radius, creating visually striking and appealing visual noise, and adding a satisfying aftermath to emphasize the explosion’s impact and damage potential.
Circle Mesh
Main Texture
Circle UV
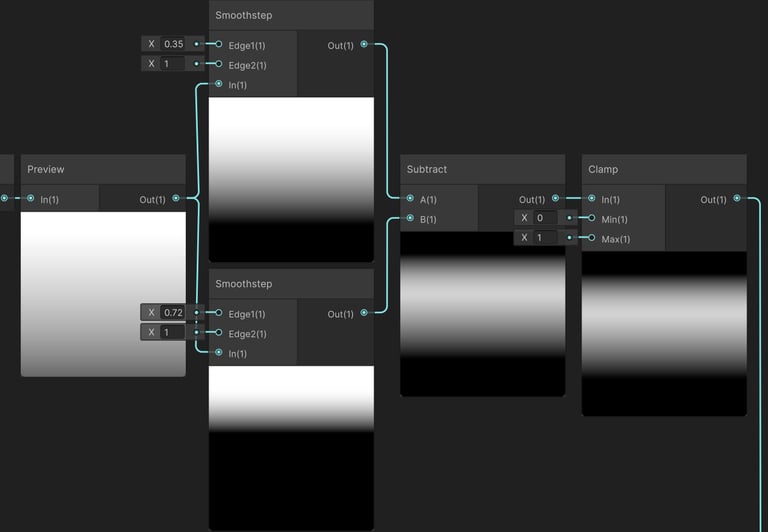
For the Circle shader Iv mainly used layers of Voronoi Noise, and UV's Y gradients. Each layer was tweaks and altered by using nodes like Smoothsteps, Remaps, Adds & multiply later connected to a Clamp node to keep the values between 0 to 1.
Instead of relying on a circular texture, I used a circular UV setup to make standard textures scroll along the Y axis, allowing them to originate from the mesh’s center and extend outward to the edges. I also added additional edge loops to create smoother easing at the borders, enhancing the motion’s overall fluidity.

+
+
+
Secondary Highlights
Mesh Border Highlight
Fill In Gradients
Final Output
Colored
=
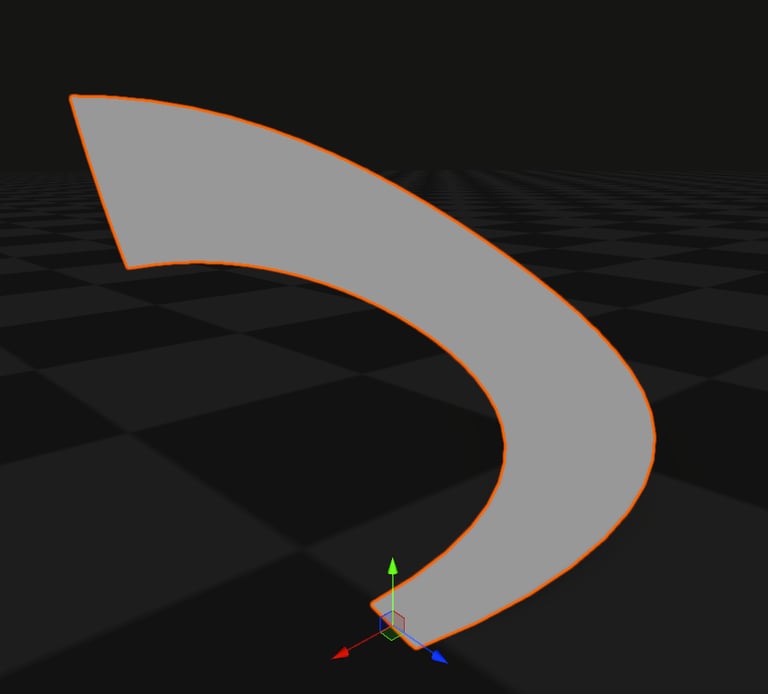
Secondary Flares Custom Mesh
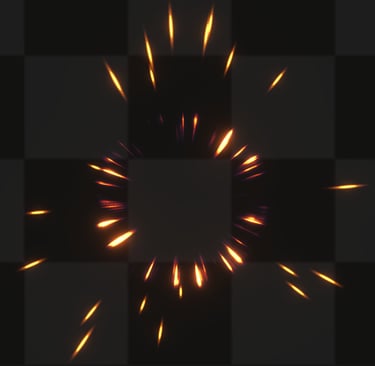
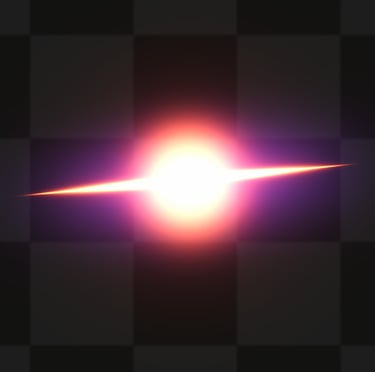
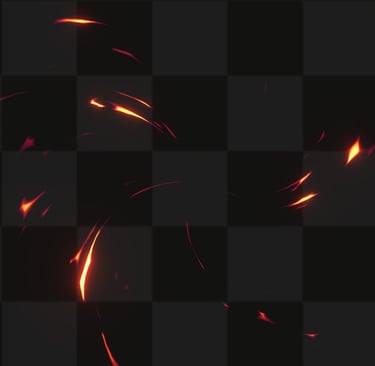
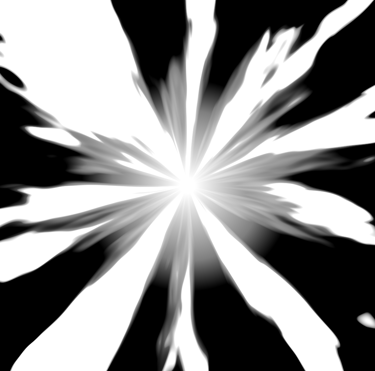
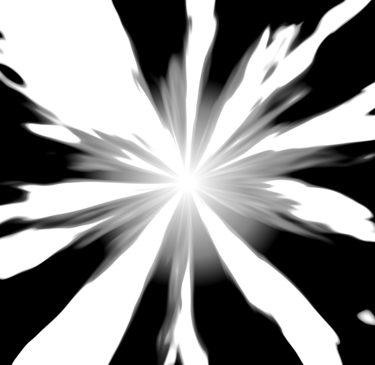
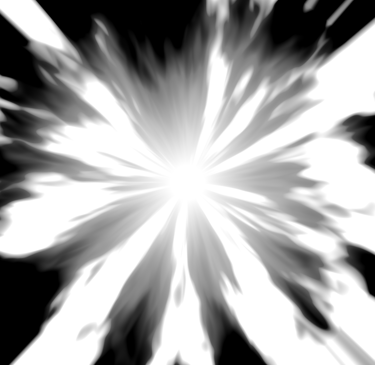
For the visual noise, I aimed to include an initial glare, as is common with explosions, accompanied by a simple yet eye catching primary flare. To add variety and fill visual gaps, I also incorporated secondary flares that contribute additional noise and detail to the effect.
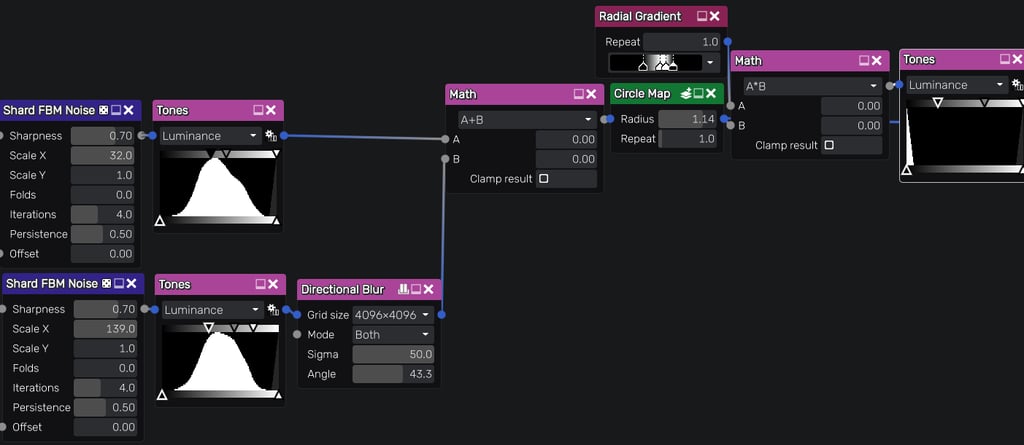
Secondary Flares Texture
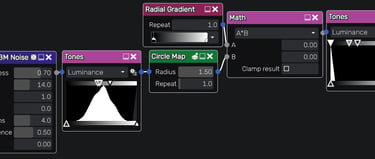
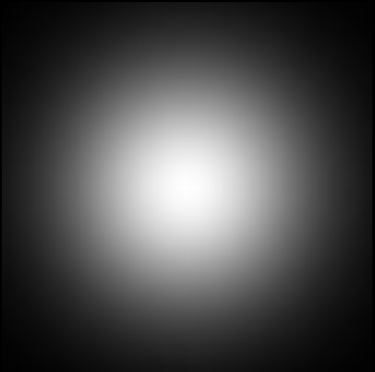
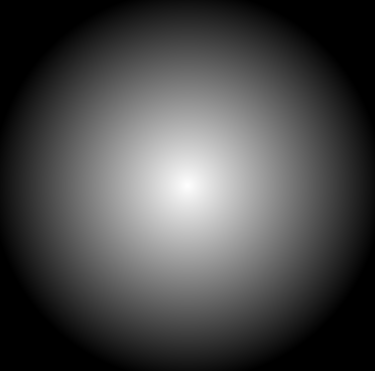
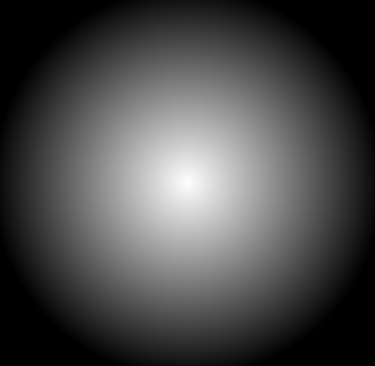
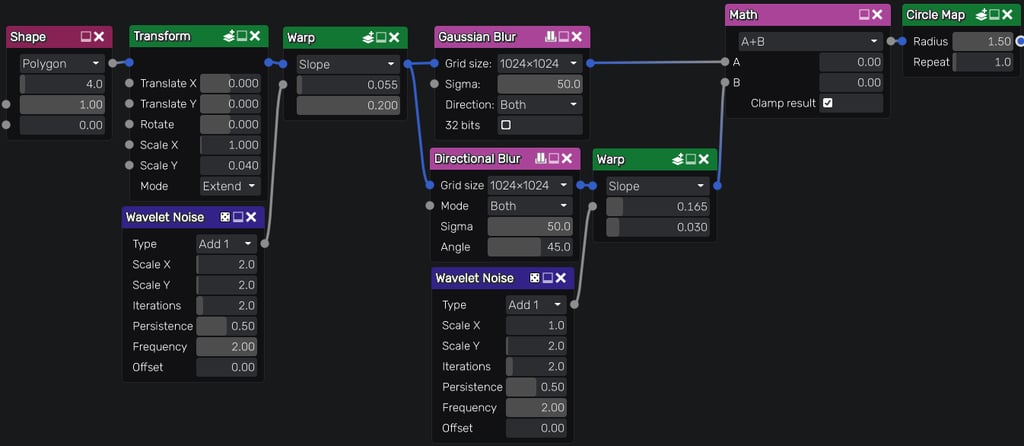
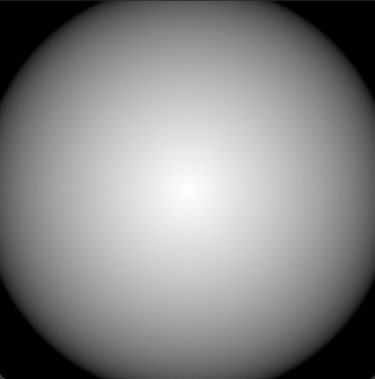
In Material Maker I used noise textures and fed them into a circle map multiplied with a circle gradient that creates a soft sphere, lastly fed into a smoothstep like node to flip the image values.
I repeated this process twice to add depht and variation.

Ground Burn Texture

Main Flares
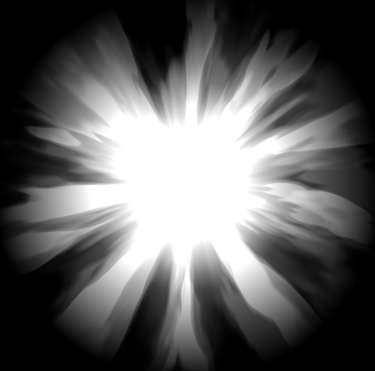
Glare
Secondary Flares

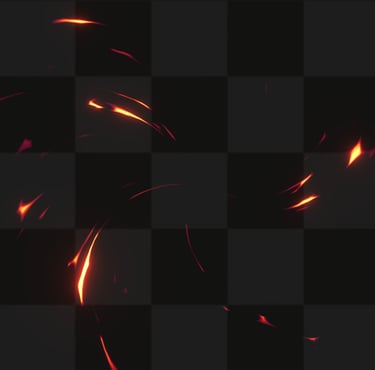
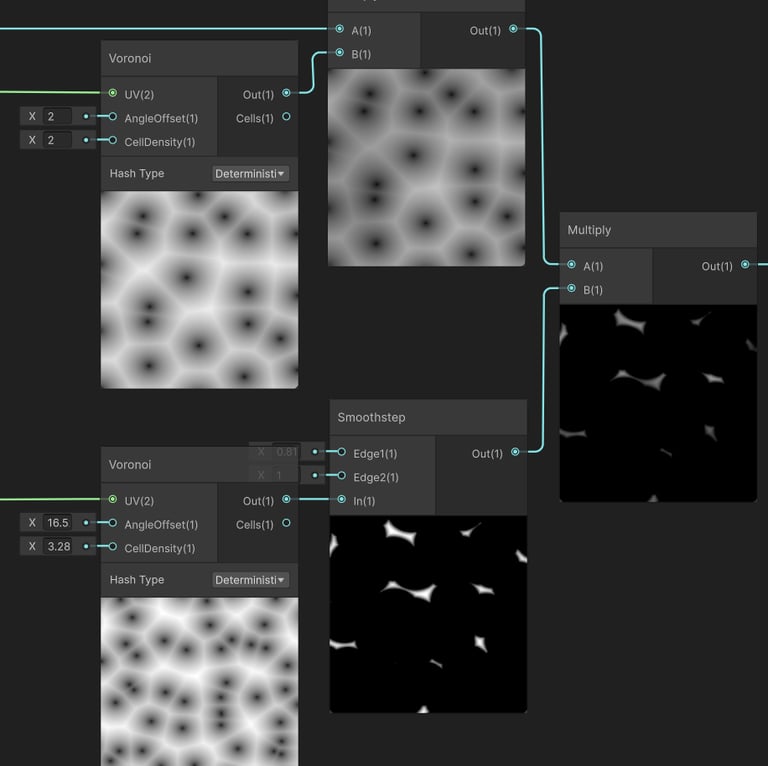
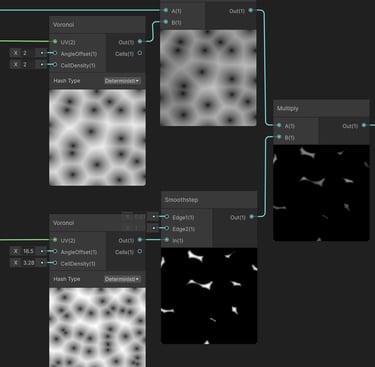
The secondary flares were generated using a procedural texture based on Voronoi Noise, with their appearance refined through nodes such as Tiling & Offset and Smoothstep. The resulting texture was then applied to a custom mesh to achieve the desired directional flow.
To create the texture I used Material Maker.
Using combined noise textures fed into a circle map multiplied with a circle gradient, lastly fed into a smoothstep like node to eliminate halfway grey values.
Main Flares Texture


For the glare texture, I combined a line texture with Unity’s default particle texture. This layering was handled in VFX Graph, as each element required slightly different timing and therefore needed to remain separate.

Sphere
Line Flare
Glare Texture
+
Two Voronoi Noises, one is multiplied with Simple Noise to create gradients and the other is fed into a SmoothStep node to create a mask that resembles the silhouette of fragments in the air.
I used UV based gradients combined with Smoothstep to define where the texture should appear and where it should fade out, helping to avoid harsh edges at the mesh boundaries.
1
2
Lastly, I fed the result into a Gradient Sampler to achieve my desired color palette.
3


In Scene Example
With The Shader
=

First Variation
Second Variation
Final Result
Soft Sphere
+
x
=
VFX
Logic / Behavior
The Circle, Flares, and Ground Burn all spawn at the center of the effect, each using a scale up animation to drive their appearance. Their timing is staggered slightly through spawn delays and adjusted lifetimes to create a more dynamic and layered visual impact.
The secondary flares also spawn at the effect’s center, but use a burst spawn mode with a random Z axis rotation applied to each particle for variation and to fill the space as secondary noise.
Render Logic
Mesh Axis
Used a Smoothstep parameter to animate the texture's appearance instade of using scale.
Shader
Water Domain

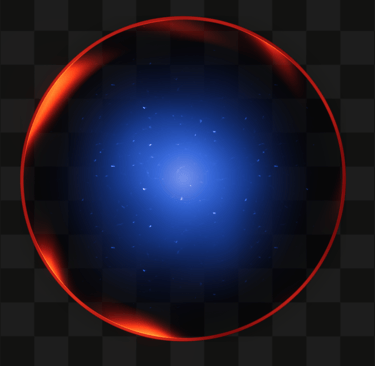
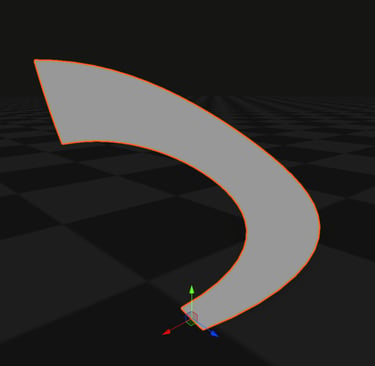
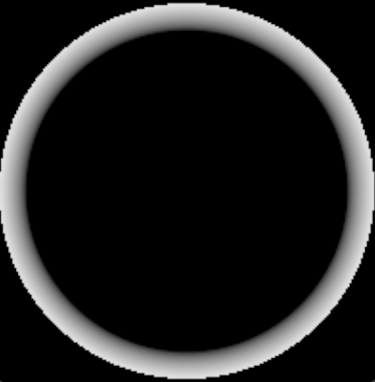
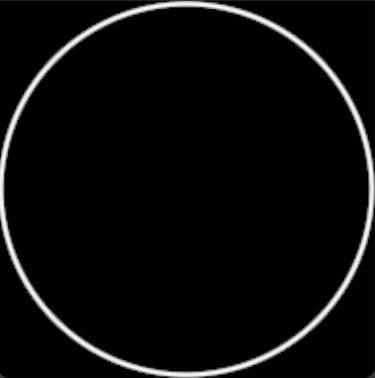
Having a large AOE skill, I knew I needed to have a clear indicator where the effect hits. Therefor I made a readable clean ring as a baseline and on top of it I placed a secondary ring for visual purposes.
For inside the area, I wanted to have a nice contrast with the fire elements in both color & theme so I decided to go with blue water.
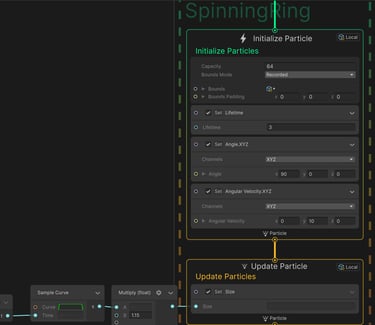
Spinning Ring
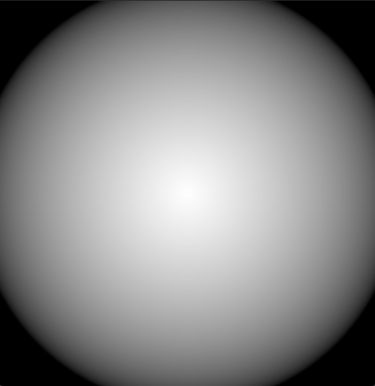
Domain Area
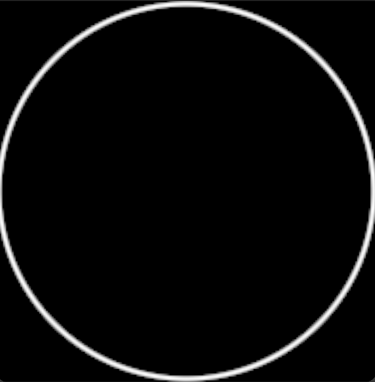
Main Ring
Spinning Ring
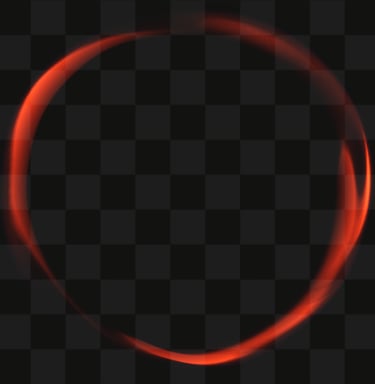
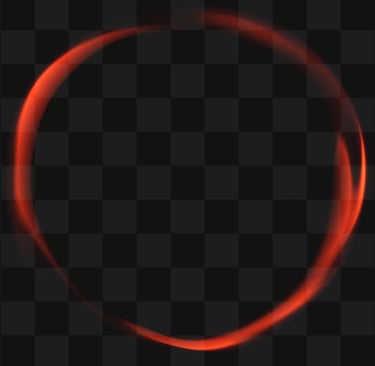
Inside Material Maker I made the Spinning Ring texture, starting with a simple line that is warped by a noise texture then layered with different Blur nodes and lastly fed into a circular map node.
Domain Area
Water Texture UV distortion
Secondary Texture To Fake Wind
Premade Flipbook Made In Material Maker

X
+
Masked Area For The Flipbook
Add A Clean Ring For Effect Readability
=
Final Result
Masked Area
X
X
=
Final Result


=
Preview
VFX
Logic / Behavior
Lastly, for both the Domain Area & Spinning Ring elements I used a simple scale animations for their appearance & disappearance, as well as setting an angular velocity to the Ring to make it spin.
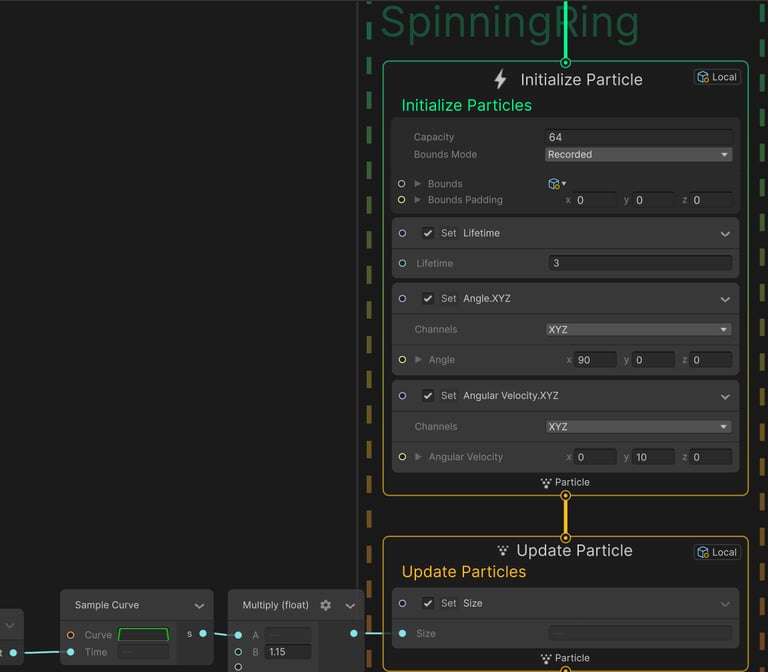
Ring Logic Example
END OF BREAKDOWN
For the VFX logic, I incorporated rain and rain puddles to enhance the sense of chaos and strengthen the overall atmosphere of the effect.
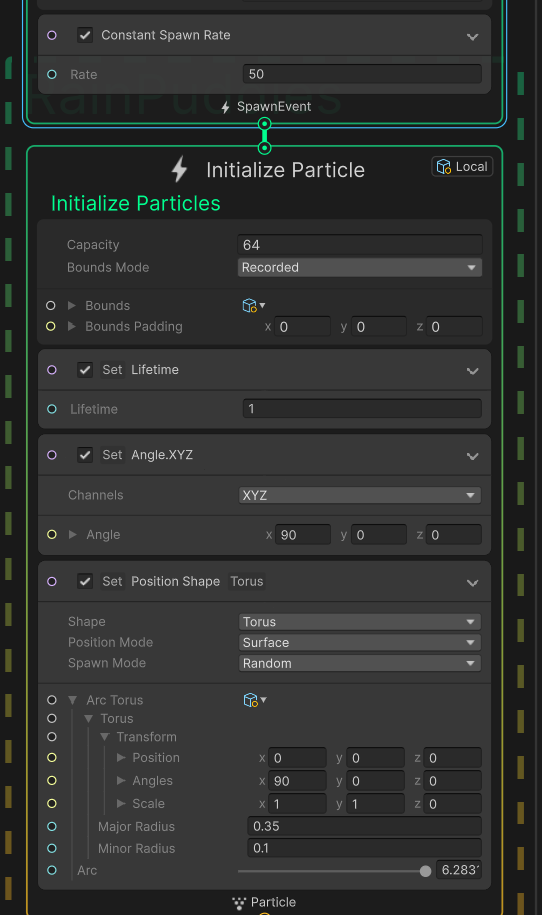
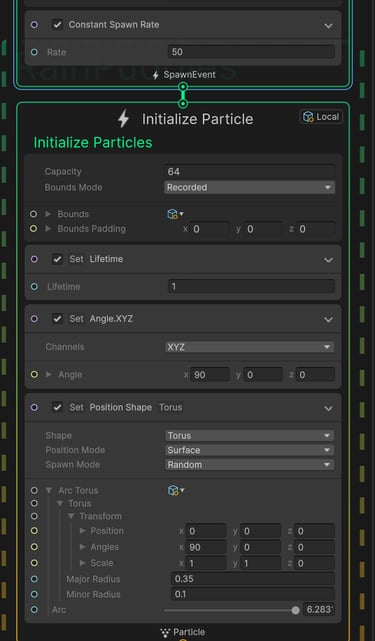
Initialize Logic - Rain Puddles
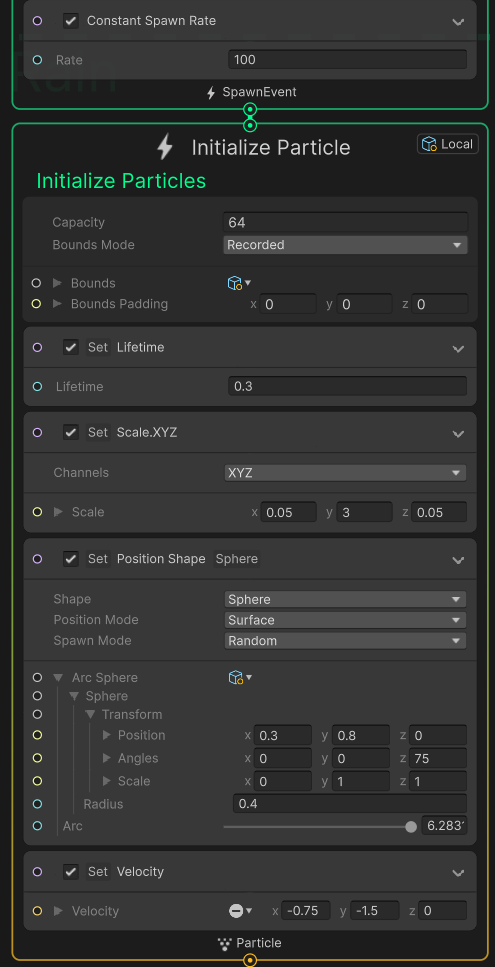
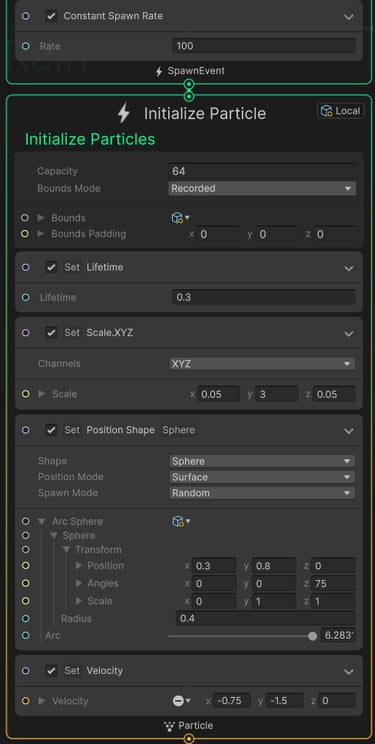
Initialize Logic - Rain
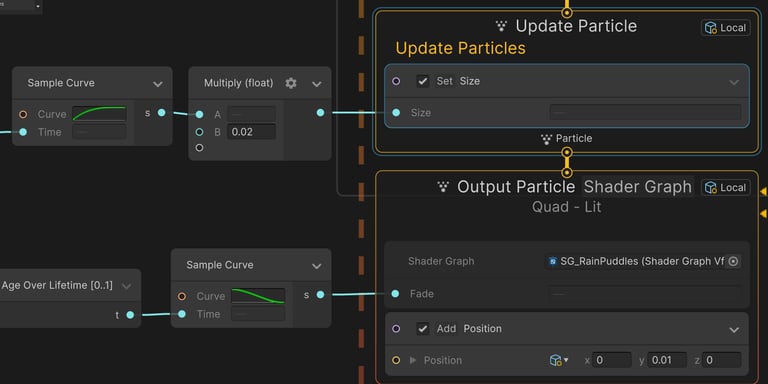
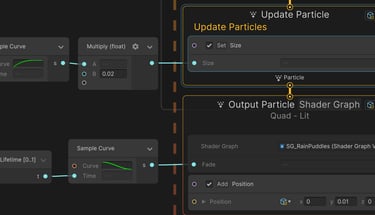
Render Logic - Rain Puddles
▶
High spawn rate
Correcting angle
▶
Radius of Domain Area
▶
Preview
Preview
High spawn rate
▶
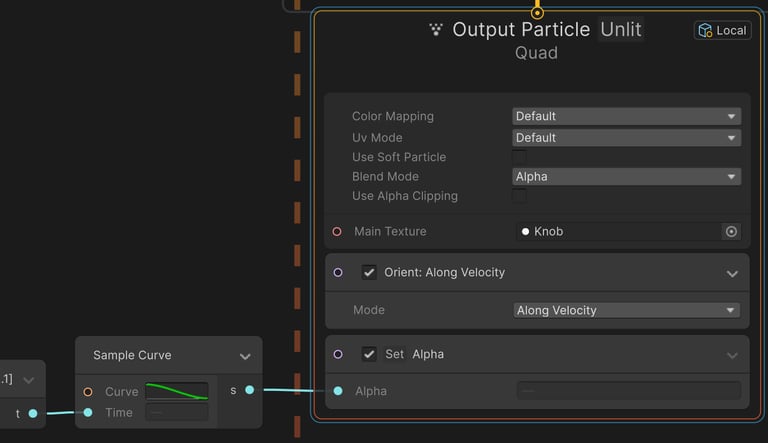
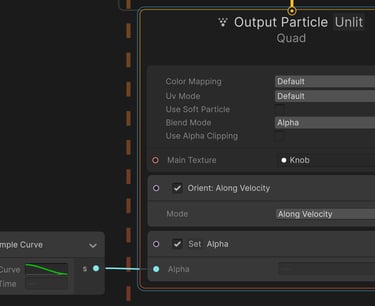
Render Logic - Rain
Stretching Y axis
▶
Custom position & angle
▶
Custom Diagonal Direction
▶
Rain
Rain Puddles
Preview
Domain Area
© 2025. All rights reserved.
Have questions or want to chat about my VFX work? Reach out anytime!
Contact
nadavargaman0@gmail.com